Are your windows looking a little worse for wear? Are you tired of battling stubborn grime that just won’t budge? Well, fear not, because we have a magical solution for you – vinegar! Yes, that ordinary household item sitting in your pantry has the power to transform your dingy windows into sparkling, crystal-clear glass. So, grab your vinegar and let’s dive into the world of grime-busting window cleaning!
Table of Contents
- Unleash the Shine with Pure Distilled Vinegar
- Pre-Treatment Magic with Baking Soda
- The Power of Newspaper for a Streak-Free Finish
- Harnessing the Sun: Timing Your Window Cleaning
- Dilution Solutions: Mixing Vinegar with Water
- Buffing Secrets with Microfiber Cloths
- Customize Your Clean: Adding Essential Oils
- The Squeegee Technique for Crystal Clear Views
- Tough Spot Tactic: Dealing with Water Spots
- Maintenance Matters: Regular Vinegar Wipe-Downs
- Questions & Answers for Removing Stubborn Window Grime with Vinegar
- In Summary
Unleash the Shine with Pure Distilled Vinegar
Are your windows in need of a deep clean? Look no further than your pantry for a solution – pure distilled vinegar! This versatile household staple is not only great for cooking, but it’s also a powerful cleaning agent that can help remove stubborn grime and leave your windows sparkling clean.
Here’s how to unleash the shine with vinegar:
Step 1: Gather Your Supplies
Before getting started, make sure you have everything you need for this cleaning project.
Here’s what you’ll need:
– Pure distilled vinegar
– Water
- Spray bottle
– Microfiber cloth or newspaper
– Optional: essential oils for a pleasant scent
Step 2: Mix Your Solution
In a spray bottle, mix equal parts pure distilled vinegar and water. If you’d like to add a fresh scent to your cleaning solution, you can also add a few drops of your favorite essential oil. Give the bottle a good shake to ensure everything is well combined.
Step 3: Apply the Solution
Spray the vinegar solution onto your windows, focusing on areas with stubborn grime. Let the solution sit for a few minutes to help loosen the dirt and grime.
Step 4: Wipe and Polish
Using a microfiber cloth or crumpled newspaper, wipe down the windows to remove the vinegar solution and grime. As you wipe, you’ll start to see the shine return to your windows. For any stubborn spots, you can repeat the process or use a bit of undiluted vinegar on a cloth.
Now that you know how to remove stubborn window grime with vinegar, you can enjoy sparkling clean windows without the need for harsh chemicals. Plus, the natural acidity of vinegar helps to deter future grime buildup, keeping your windows cleaner for longer. Give this method a try and see the difference it makes for yourself!
Pre-Treatment Magic with Baking Soda
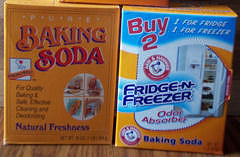
When it comes to tackling stubborn window grime, pre-treatment with baking soda can work wonders. Baking soda is a natural abrasive that is gentle enough to use on glass surfaces but tough enough to tackle built-up dirt and grease. Here’s how you can use baking soda to prepare your windows for a deep clean with vinegar:
Step 1: Create a Baking Soda Paste
Create a paste by mixing baking soda with a small amount of water. The consistency should be thick enough to spread easily but not too runny. This paste will act as an abrasive cleaner to loosen and lift dirt.
Step 2: Apply the Paste
Using a microfiber cloth or sponge, apply the baking soda paste to the areas of your window with the most grime. Gently scrub the paste into the glass, concentrating on any tough spots or stains.
Step 3: Let it Sit
Allow the baking soda paste to sit on the window for at least 10-15 minutes. This will give the baking soda time to work its magic and break down the grime.
Step 4: Rinse and Wipe Clean
After the paste has had time to work, use a clean, damp cloth to rinse away the baking soda. Then, dry the window thoroughly with a lint-free cloth to reveal a clean, pre-treated surface ready for a vinegar wash.
By pre-treating your windows with baking soda, you can effectively loosen and lift stubborn grime, making it easier for the vinegar to work its magic and leave your windows sparkling clean. So, before you reach for the vinegar, don’t forget the pre-treatment magic of baking soda.
The Power of Newspaper for a Streak-Free Finish

When it comes to removing stubborn window grime with vinegar, many people overlook the power of using newspaper for a streak-free finish. While vinegar is an excellent natural cleaner, the key to achieving a sparkling, streak-free window lies in the technique of wiping and drying the vinegar solution. By using newspaper, you can achieve a streak-free finish with minimal effort and without the need for chemical-laden commercial window cleaners.
So, how does newspaper work its magic on stubborn window grime when paired with vinegar? The absorbent texture of newspaper makes it perfect for absorbing the vinegar solution and any residual grime or streaks, leaving your windows sparkling clean. The texture of the paper helps to buff away any remaining residue on the glass, while the natural oils in the paper contribute to a streak-free shine.
To achieve a streak-free finish when removing stubborn window grime with vinegar, follow these simple steps:
- Mix a solution of equal parts water and distilled white vinegar in a spray bottle.
- Spray the solution onto the dirty windows, ensuring full coverage.
- Wipe the windows with crumpled newspaper, using circular motions to buff away grime and streaks.
- Continue to wipe the windows with fresh newspaper until they are dry and streak-free.
Harnessing the Sun: Timing Your Window Cleaning
So, you’ve decided to tackle that stubborn window grime with vinegar. Good choice! This natural cleaner is not only effective, but also environmentally friendly. But before you grab your spray bottle and start scrubbing, it’s important to consider the timing of your window cleaning. Harnessing the power of the sun can make a big difference in the effectiveness of your cleaning process.
So, when is the best time to clean your windows with vinegar?
- Early morning: The sun is not at its peak and the temperature is cooler, making it an ideal time to clean your windows without the cleaner drying too quickly.
- Late afternoon: As the sun starts to go down, the temperature drops, providing a window of opportunity for effective cleaning without the cleaner evaporating too rapidly.
When cleaning your windows with vinegar, it’s also important to consider the weather. Avoid cleaning on hot, sunny days, as the cleaner can dry too quickly, leaving streaks and residue on your windows. Similarly, avoid cleaning on rainy or windy days, as the weather can interfere with the effectiveness of the cleaner.
If you’re looking to maximize the effectiveness of your window cleaning with vinegar, timing is key. By choosing the right time of day and considering the weather conditions, you can ensure a streak-free and spotless finish for your windows. So, next time you’re getting ready to tackle that stubborn window grime, keep the sun in mind and make the most of your natural cleaning power.
Dilution Solutions: Mixing Vinegar with Water
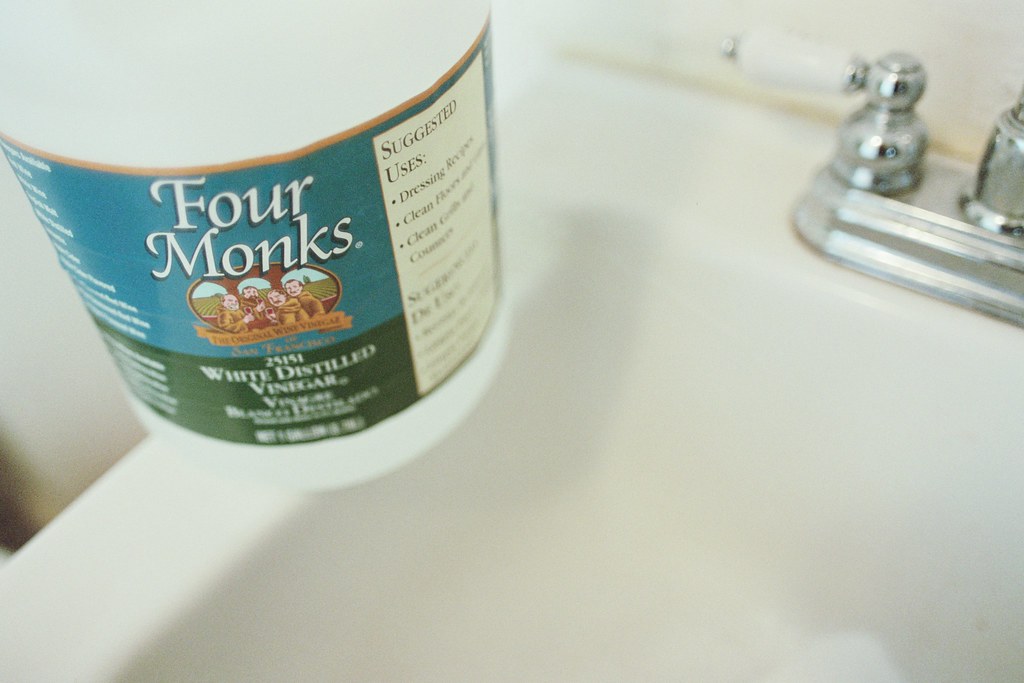
If you’re looking to tackle stubborn window grime, look no further than your pantry for a simple, effective solution. Mixing vinegar with water is a powerful and natural way to remove dirt and grime from your windows, leaving them sparkling clean without the need for harsh chemicals.
Why Vinegar?
Vinegar is an excellent natural cleaner due to its high acidity, which makes it effective at cutting through grease and grime. It’s also non-toxic, making it an ideal choice for those looking to reduce their use of chemical cleaners. When mixed with water, vinegar becomes a versatile cleaning solution that can be used throughout your home.
How to Mix Vinegar with Water
For an effective window cleaning solution, mix equal parts of white vinegar and water in a spray bottle. This simple mixture is all you need to tackle even the most stubborn window grime. Here’s a quick and easy recipe to follow:
- Fill a spray bottle halfway with white vinegar
- Fill the remaining half with water
- Shake the bottle to mix the solution thoroughly
Applying the Solution
Once you’ve mixed your vinegar and water solution, it’s time to apply it to your windows. Simply spray the solution onto the glass and use a clean, lint-free cloth or paper towel to wipe the surface. For best results, work in small sections and make sure to buff the windows dry for a streak-free shine.
Buffing Secrets with Microfiber Cloths
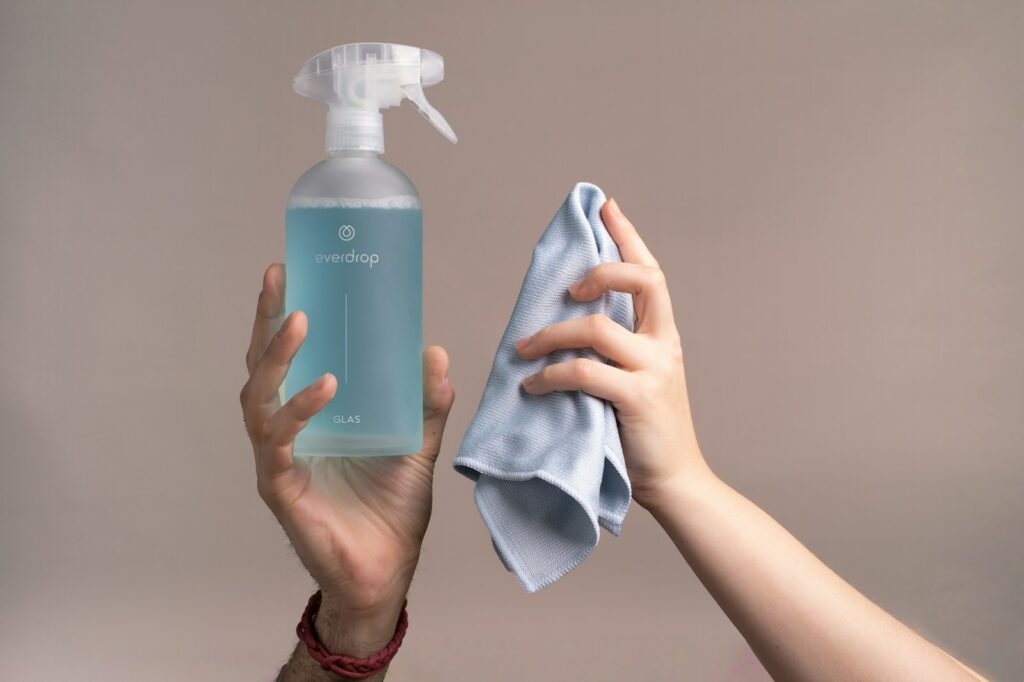
Microfiber cloths are a game changer when it comes to cleaning stubborn window grime, especially when paired with the power of vinegar.
Here’s how you can use these two together to achieve sparkling, streak-free windows:
Step 1: Mix your vinegar solution
Start by mixing equal parts of water and white vinegar in a spray bottle. This solution is not only effective at cutting through tough grime, but also environmentally friendly and safe for use around the house.
Step 2: Apply the solution
Spray the vinegar solution onto the affected window areas, ensuring to cover the entire surface. Let it sit for a few minutes to allow the vinegar to break down the grime and dirt buildup.
Step 3: Buff with a microfiber cloth
Grab a clean, dry microfiber cloth and begin buffing the window in circular motions. The microfiber material is gentle, yet highly effective at picking up and trapping dirt, leaving your windows streak-free and crystal clear.
Using vinegar with microfiber cloths is a cost-effective, eco-friendly way to tackle stubborn window grime, without the need for harsh chemicals or expensive cleaning products. Removing Stubborn Window Grime with Vinegar not only saves you time and energy, but also helps to protect the environment. Give it a try and see the difference for yourself!
For further cleaning needs, consider checking out brands that specialize in eco-friendly cleaning solutions, such as Mrs. Meyer’s or Method. These companies offer a wide range of products that are safe for use around the house, and their commitment to sustainability makes them a top choice for environmentally conscious consumers.
Customize Your Clean: Adding Essential Oils

Adding essential oils to your cleaning routine can not only help freshen up your home but also add a powerful boost to your cleaning solutions. One popular option is to add essential oils to vinegar-based cleaners to help tackle tough grime, including stubborn window grime. Below, we’ll share a simple recipe for a DIY essential oil window cleaner that will leave your windows sparkling and your home smelling fresh.
To make your own essential oil window cleaner, you’ll need the following ingredients:
- 1 cup of white vinegar
- 1 cup of water
- 10 drops of your favorite essential oil (such as lemon, lavender, or peppermint)
Simply mix the vinegar and water in a spray bottle, then add the essential oils. Shake well before each use to ensure the oils are evenly distributed. When it’s time to clean your windows, simply spray the solution onto the glass and wipe with a microfiber cloth for streak-free results. The vinegar will help cut through the grime while the essential oil will leave behind a delightful scent.
By customizing your cleaning solutions with essential oils, you can not only enjoy a more pleasant cleaning experience but also feel confident that you are using natural ingredients in your home. Plus, with so many essential oil options available, you can customize your cleaning solutions to suit your personal preferences and create a truly unique, personalized cleaning experience.
The Squeegee Technique for Crystal Clear Views

When it comes to removing stubborn window grime with vinegar, the squeegee technique is a game-changer. This method not only helps to achieve crystal clear views but also makes the task much easier and more effective. Here’s how to master the squeegee technique for pristine windows every time:
Step 1: Gather Your Supplies
Before you begin, make sure you have everything you need to get the job done right. This includes a high-quality squeegee, a bucket of warm water mixed with white vinegar, a microfiber cloth, and a few drops of dish soap.
Step 2: Prepare the Window
Start by removing any debris or loose dirt from the window with a soft brush or cloth. Then, dip the squeegee into the vinegar solution and apply it to the window, making sure to cover the entire surface.
Step 3: Use the Squeegee
Using firm pressure, run the squeegee from top to bottom in a smooth, continuous motion, overlapping each stroke slightly to ensure complete coverage. Wipe the squeegee blade with a microfiber cloth after each pass to prevent streaks.
Step 4: Finish with a Polish
Once you’ve squeegeed the entire window, use a dry microfiber cloth to polish it to a sparkling shine. This will remove any remaining residue and leave your windows looking crystal clear.
By following these steps and mastering the squeegee technique, you can easily remove stubborn window grime with vinegar and achieve stunning, streak-free results every time. So, the next time you tackle your windows, be sure to give this method a try for a truly immaculate finish.
Tough Spot Tactic: Dealing with Water Spots
Water spots on windows can be a real pain to remove, but fear not! There’s a simple and effective solution that you probably already have in your kitchen – vinegar. Here’s a step-by-step guide on how to use vinegar to remove stubborn window grime and water spots.
Making the Solution
The first step is to create the vinegar solution. Mix equal parts of water and white vinegar in a spray bottle. For really tough water spots, you can use full-strength vinegar. The acidity of the vinegar will help to break down the mineral deposits in the water spots, making them easier to remove.
Applying the Solution
Spray the vinegar solution directly onto the water spots on the window. Make sure to saturate the area thoroughly. Let the solution sit for a few minutes to allow the vinegar to work its magic. For extra tough spots, you can gently scrub the area with a sponge or soft-bristle brush to help loosen the grime.
Rinsing and Drying
After the vinegar has had time to work, rinse the window with clean water. Use a squeegee or microfiber cloth to dry the window, making sure to remove all traces of the vinegar solution. If there are any remaining water spots, repeat the process until the window is completely clean and spot-free.
By following these steps and using the power of vinegar, you can easily remove stubborn water spots from your windows. It’s an eco-friendly and cost-effective solution that will leave your windows sparkling clean. So next time you’re faced with tough window grime, reach for the vinegar and let it do the hard work for you!
Maintenance Matters: Regular Vinegar Wipe-Downs

Regular maintenance is an essential part of keeping your home looking its best. One often overlooked area is the windows, which can quickly accumulate stubborn grime and dirt. One effective solution for removing this grime is a simple vinegar wipe-down. Here’s how you can tackle this task and enjoy sparkling clean windows.
To start, gather the necessary supplies for the vinegar wipe-down:
- White vinegar
- Water
- Spray bottle
- Microfiber cloth or sponge
Next, mix equal parts white vinegar and water in the spray bottle. This solution will act as a powerful, natural cleaner that can break down and remove stubborn grime on your windows.
Spray the solution liberally onto the windows, ensuring that all areas are covered. Let the vinegar solution sit on the windows for a few minutes to allow it to penetrate and loosen the grime. This will make the cleaning process much easier and more effective.
Using a clean microfiber cloth or sponge, start wiping down the windows, paying attention to any particularly stubborn spots. The vinegar solution will help to dissolve the grime, making it easier to remove. Be sure to use a clean section of the cloth or sponge as you work to avoid spreading the grime around.
Regular vinegar wipe-downs are an effective and budget-friendly way to keep your windows looking their best. Incorporating this maintenance task into your cleaning routine can help prevent stubborn grime from building up and keep your windows sparkling clean. Say goodbye to stubborn window grime with this simple and natural cleaning solution.
Questions & Answers for Removing Stubborn Window Grime with Vinegar
How does vinegar help remove stubborn window grime?
Vinegar is acidic, which makes it an effective cleaner for removing tough window grime. It can dissolve mineral deposits and break down grease and grime, leaving your windows sparkling.
What type of vinegar should I use?
You can use regular white vinegar or apple cider vinegar for cleaning your windows. Both are effective at cutting through grime and leaving behind a streak-free shine.
Can I dilute the vinegar before using it?
Yes, you can dilute the vinegar with water to make a milder cleaning solution, especially if you’re cleaning delicate or tinted windows. A 50/50 solution of vinegar and water is a good starting point.
Do I need to rinse the windows after using vinegar?
No, you don’t need to rinse the windows after using vinegar. Simply spray or wipe the vinegar solution onto the windows, wipe it off with a clean cloth, and let it dry for a streak-free finish.
Can I use vinegar to clean exterior windows?
Yes, vinegar is safe to use on exterior windows. It can help remove dirt, pollen, and other outdoor grime that may have accumulated on your windows.
Will the vinegar smell linger after cleaning?
The smell of vinegar will dissipate as the windows dry. If you’re sensitive to the smell, you can add a few drops of essential oil, such as lemon or lavender, to the vinegar solution to help mask the odor.
How can I tackle stubborn grime on window tracks?
To clean window tracks, pour vinegar into the tracks and let it sit for a few minutes to loosen the grime. Then, scrub the tracks with a small brush or an old toothbrush to remove the stubborn buildup.
Can I use vinegar to clean window screens?
Yes, you can use vinegar to clean window screens. Mix equal parts water and vinegar in a spray bottle, spray the solution onto the screens, and scrub them with a brush or sponge. Rinse the screens with water and let them air dry.
Will vinegar damage my window glass?
Vinegar is safe for use on most types of window glass, including standard, double-pane, and tempered glass. However, you should avoid using vinegar on any type of treated or coated glass, such as frosted or patterned glass.
How often should I use vinegar to clean my windows?
You can use vinegar to clean your windows as often as needed, whether it’s once a week or once a month. It’s a safe and effective cleaner for removing stubborn grime and keeping your windows looking their best.
In Summary
So there you have it, a simple and effective way to remove stubborn window grime using vinegar. It’s amazing what this pantry staple can do! Next time you’re faced with grimy windows, don’t reach for harsh chemicals – just grab a bottle of vinegar and get cleaning. Your windows will sparkle and shine without harming the environment or your health. Happy cleaning!
