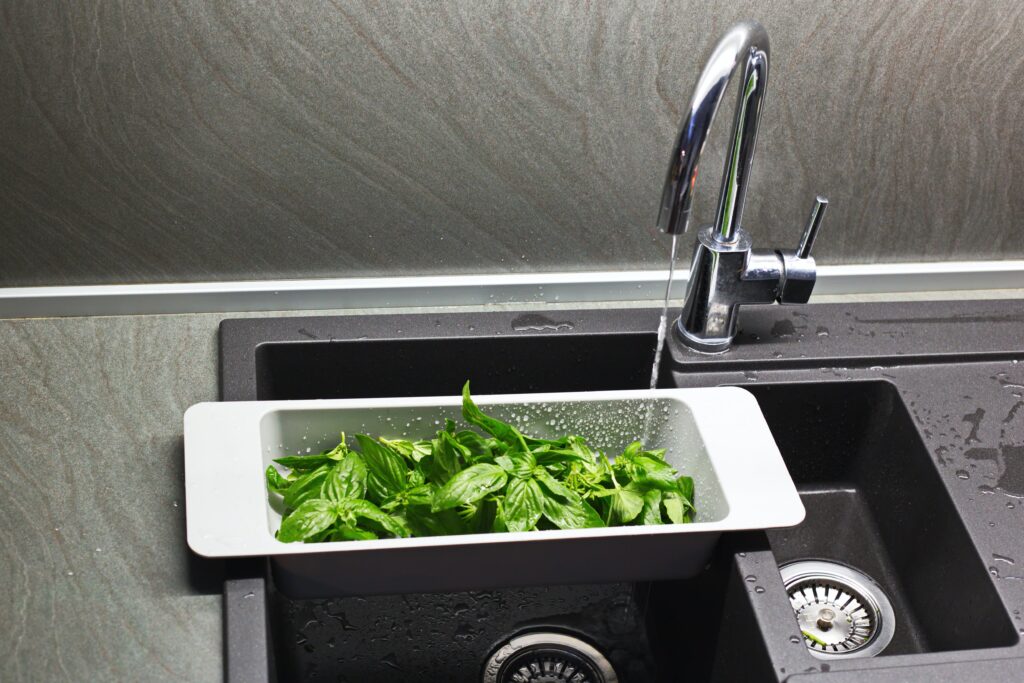
Hey there, kitchen warriors! Let’s talk about the unsung hero of food safety and hygiene – Kitchen Deep Cleaning.
Picture this: a sparkling clean kitchen where every nook and cranny is scrubbed to perfection. It’s not just about making your kitchen look Instagram-worthy, but it’s also about keeping those pesky germs and bacteria at bay.
So, buckle up and get ready to dive deep into the world of kitchen deep cleaning – it’s about to get spick and span in here!
Table of Contents
Sanitizing Kitchen Surfaces: Best Practices
Hey there, fellow kitchen enthusiasts! Let’s talk about the unsung hero of culinary spaces – our kitchen surfaces.
Keeping these vital areas squeaky clean isn’t just about aesthetics; it’s about ensuring a safe environment for our culinary adventures.
Here’s my take on the best practices for sanitizing kitchen surfaces, tried and tested over years of experimenting with various methods and products.
First off, let’s talk about the power duo of hot water and dish soap. This simple yet effective combo is fantastic for everyday cleaning. Think of it as the dynamic duo that battles grime and germs like culinary superheroes.
Next up, we have the mighty force of vinegar and water. This natural concoction is great for tackling stubborn stains and killing bacteria, providing a gentle, eco-friendly option for our cleaning arsenal.
Finally, for those heavy-duty moments, consider investing in a quality disinfectant spray. I’ve found that products from companies like Clorox or Lysol not only obliterate germs but also offer peace of mind when it comes to food safety.
Remember, a clean kitchen isn’t just about cleanliness – it’s also about fostering a space where creativity can flourish, unhindered by the pesky remnants of last night’s culinary masterpiece.
So, give these tips a whirl, and let your kitchen surfaces gleam with the promise of culinary adventures to come. If you would like more information, please feel free to check our comprehensive article Squeaky Clean: Mastering Kitchen Surface Sanitization.
If you have any secret weapons in your cleaning arsenal, feel free to share them in the comments below. Here’s to a kitchen that sparkles as brightly as our culinary dreams!
Organizing Your Pantry for Cleanliness and Efficiency

Now, let’s talk about the magical world of organizing your pantry for cleanliness and efficiency. Your pantry is like the beating heart of your kitchen, the place where all the culinary magic happens.
So, let’s roll up our sleeves and turn that cluttered chaos into a symphony of organized bliss!
First off, take stock of what’s hiding in the depths of your pantry. It’s like embarking on a treasure hunt, but instead of gold doubloons, you uncover forgotten cans of beans and exotic spices.
Sort through your items and group them into categories like baking supplies, canned goods, snacks, and spices.
This not only makes it easier to find what you need but also gives you a clear picture of what you have – no more buying duplicates of that elusive vanilla extract!
Once you’ve categorized, consider investing in some airtight containers from companies like OXO or Rubbermaid to keep your ingredients fresh and neatly displayed. It’s like giving your pantry a wardrobe makeover with clear and stylish canisters for all your staples.
Next, let’s talk about shelf optimization. Just like a game of Tetris, make the most of your space by using adjustable shelves and stackable organizers.
Arrange your items so that the ones you use most frequently are at eye level for easy access.
Consider installing wire racks or over-the-door organizers for extra storage – it’s like adding secret compartments to your pantry kingdom!
Lastly, don’t forget to label everything.
This not only adds a touch of whimsy to your pantry’s aesthetic but also ensures that everyone in the household can easily locate and return items to their rightful place.
Check out our [Organizing Your Pantry for Cleanliness and Efficiency] article for more great organizing tips!
Grease Removal: Keeping Your Stovetop Spotless
Let’s now talk about how to keep your stovetop looking as spotless as an Apple Store display. We all know that satisfying feeling of cooking up a storm in the kitchen, but the aftermath of grease and grime on your stovetop can be a real buzzkill.
Fear not! I’ve got some nifty tricks up my sleeve to help you tackle the grease and keep that stovetop shining like a freshly polished Macbook.
Here are some tips to keep your stovetop grease-free:
- Regular Maintenance: Wipe down your stovetop after each use to prevent grease buildup. Think of it like cleaning the cache on your device to keep it running smoothly.
- Use the Right Tools: Invest in a quality degreaser or homemade solution to effectively cut through the stubborn grease. It’s like finding the perfect app to declutter your digital workspace.
Remember, a clean stovetop not only elevates the aesthetic of your kitchen but also improves safety and hygiene.
What’s your go-to method for keeping your stovetop sparkling clean?
Do you rely on store-bought solutions, or do you prefer DIY hacks? Share your tips and let’s keep our stovetops gleaming together!
And if you’re looking for some top-notch info on keeping your stove clean, check out [Grease Removal: Keeping Your Stovetop Spotless] for some stellar options to keep your stovetop glistening.
Keep cooking and keep cleaning, my friends!
Refrigerator Cleaning and Maintenance Guide
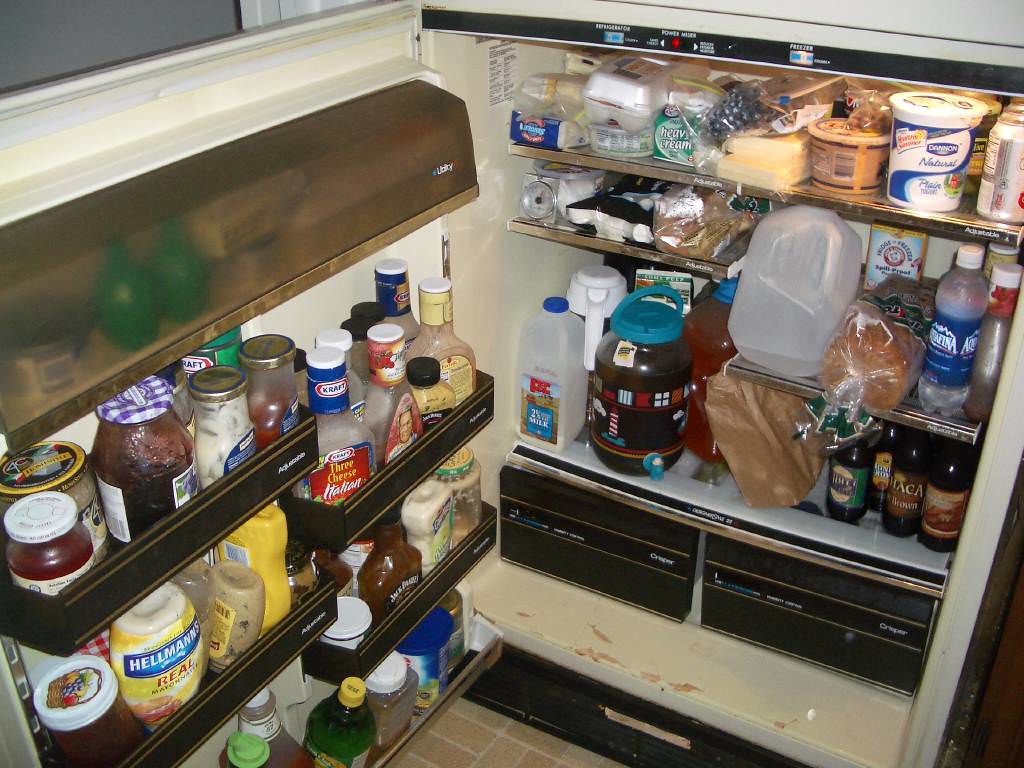
Now, we’ll dive into the fascinating world of refrigerator maintenance, because just like with our beloved gadgets, taking care of our fridges will ensure they keep running smoothly and efficiently. So, grab a cup of your favorite beverage and let’s embark on this maintenance adventure together!
Prep Work
First things first, before delving into the actual cleaning process, make sure to unplug your refrigerator to ensure safety and prevent any mishaps. Once that’s done, remove all the contents from inside so you have a clean canvas to work with. Trust me, this step is as crucial as removing the case of your smartphone before attempting any repairs.
Cleaning the Interior
Now, onto the fun part! Armed with a mild detergent or a solution of water and vinegar, wipe down the interior surfaces of your fridge. Pay special attention to spill-prone areas and shelves, as well as the rubber door gasket to ensure a tight seal. Imagine this process as giving your fridge a rejuvenating spa treatment—deserving of its hard work in keeping your food fresh and crisp.
Remember, the way we care for our technological marvels can greatly impact their lifespan and performance, and refrigerators are no exception!
Integrating these maintenance rituals into our routine nourishes not only our appliances but our sense of responsibility towards the products that serve us faithfully.
For advice on quality cleaning products and maintenance tools, consider checking out our [Refrigerator Cleaning and Maintenance Guide] for reliable options. So, let’s show our fridges some love, shall we?
Dishwasher Deep Clean: Ensuring Hygienic Washes
Let’s dive into the fascinating world of dishwasher deep cleaning. You may not realize it, but your trusty dishwasher needs a little TLC every now and then to keep churning out those sparkling clean dishes. Just like how our favorite gadgets need software updates to perform at their best, our dishwashers thrive with a thorough cleanse.
So, let’s roll up our sleeves and ensure that our kitchen companion is delivering hygienic washes every time.
- Inspect and Clean the Filter: Think of the filter in your dishwasher as the ‘firewall’ that sieves out those pesky food particles and debris. Over time, it can get clogged and affect the dishwasher’s performance. So, give it a good clean or replace it if necessary to keep the machine running smoothly.
- Wipe Down the Gaskets and Seals: Just like how a snug case protects our devices, the gaskets and seals in the dishwasher create a tight seal to prevent leaks. For a hygienic wash, make sure to wipe them down with a damp cloth and mild detergent to keep them free from mold and grime.
Remember, a little maintenance goes a long way in prolonging the lifespan of our appliances. When it’s time for a deep clean, consider checking out the following article [Dishwasher Deep Clean: Ensuring Hygienic Washes] for more information on how to give your dishwasher an extra rigorous cleanse.
Plus, don’t forget to spread the love to your dishwasher – after all, it’s been tackling those dishes tirelessly, almost like a loyal sidekick in our culinary adventures.
So, here’s to ensuring our dishwasher continues to be a superhero in the battle against dirty plates! Let’s keep those washes hygienic and our kitchen chores a breeze.
Preventing and Tackling Kitchen Mold Issues

Hey there, fellow kitchen adventurers! Let’s chat about the sneaky intruder that can lurk in the shadows of our beloved culinary spaces: kitchen mold.
Now, I know what you’re thinking – mold, in the kitchen?
But fear not, for I’ve got some savvy tips to help keep those pesky spores at bay and your kitchen pristine.
- Keep it Dry: Mold loves moisture, so make sure to wipe up any spills and keep your kitchen surfaces dry. Consider investing in a dehumidifier to maintain optimal humidity levels.
- Ventilate, Ventilate, Ventilate: Proper ventilation is key to preventing mold growth. Run those range hoods while cooking and crack open a window to let fresh air circulate.
- Inspect and Repair: Don’t neglect those nooks and crannies! Regularly inspect your kitchen for any potential water leaks or damage, and promptly address any issues before they escalate.
Picture this – your kitchen, a sanctuary of creativity and culinary delights, free from the clutches of mold. By implementing these simple yet effective tips, you’re not only creating a healthier environment for your family but also safeguarding your kitchen’s charm and functionality.
So, put on your mold-busting cape and let’s show those spores who’s boss! And remember, if you need more information with mold in your kitchen, check out [Preventing and Tackling Kitchen Mold Issues] for more top tips and solutions.
Here’s to a mold-free kitchen and endless epicurean adventures!
Effective Garbage Disposal Cleaning and Care
Let’s continue our dive by looking into the exciting world of effective garbage disposal cleaning and care.
Just like keeping our gadgets in peak condition, it’s essential to give our trusty garbage disposal some TLC to ensure it keeps running smoothly and efficiently.
Here are some simple yet powerful tips to keep your disposal humming along like a well-oiled machine:
First off, let’s talk about the wonders of vinegar and baking soda. Take a cup of vinegar and pour it down the drain, followed by a generous sprinkling of baking soda. Let this dynamic duo work its magic for a few minutes before flushing it down with hot water. This natural combo not only helps break down grease and grime but also eliminates odors, leaving your disposal smelling as fresh as a spring breeze.
Next, consider grinding some citrus peels – be it oranges, lemons, or limes – to give your disposal a zesty clean. The natural oils in the peels act as a natural cleaner and leave behind a delightful, refreshing scent, turning your kitchen into a citrus-scented oasis.
Now, let’s not forget about the importance of regular maintenance. It’s like conducting regular system updates for your disposal. Ensure to run it regularly, as stagnation can lead to unpleasant odors and hinder its performance.
Additionally, be mindful of what goes down the drain – avoid tossing in tough items like bones, fibrous veggies, or coffee grounds, as these can put strain on the disposal’s mechanics.
Remember, a little care goes a long way in keeping your garbage disposal happy and efficient!
For quality products and expert guidance, consider checking out reputable companies like InSinkErator and Waste King for top-notch disposal units and maintenance accessories.
Hope these tips help you keep your garbage disposal purring like a content kitten! Feel free to check out [Effective Garbage Disposal Cleaning and Care] for more great tips and suggestions.
Let’s keep those kitchen tech wonders in tip-top shape for a seamless and enjoyable culinary experience.
Natural Cleaning Solutions for the Kitchen

Now, let’s discuss some fabulous natural cleaning solutions for your delightful kitchen space. We all know that keeping our kitchens clean is crucial for maintaining a healthy living environment. But who says we need to rely on harsh chemicals to achieve that sparkling shine?
Let’s explore some earth-friendly alternatives that will make your kitchen sparkle like a freshly polished Apple computer.
Lemon and Baking Soda Magic: Begin by harnessing the power of these pantry staples. Mix the juice of half a lemon with a few tablespoons of baking soda to create a powerful paste. This dynamic duo works wonders on stubborn stains and grime, leaving surfaces gleaming and smelling oh-so-fresh. Plus, it’s completely non-toxic, making it safe for your family and the environment.
Vinegar Infusion for the Win: Ah, the humble vinegar, a multitasking wonder in the world of natural cleaning. Create a solution of equal parts water and vinegar in a spray bottle to tackle grease and grime on kitchen surfaces. The acidity of the vinegar cuts through stubborn residue, leaving your countertops and appliances sparkling clean. It’s like performing a software update on your kitchen, giving it a renewed sense of vigor and cleanliness.
Embrace these natural alternatives and watch your kitchen transform into a clean, fresh oasis that would make any tech guru proud. Keep innovating and cleaning with nature’s finest offerings! Cheers to a sparkling kitchen and a greener planet!
Want to know more? Check out the full article at [Natural Cleaning Solutions for the Kitchen].
Oven Cleaning Techniques for Baked-On Messes
Let’s continue our discussion with conquering those baked-on messes in your oven.
We all know that feeling when you open that oven door and are greeted with a sight that seems like a battlefield of burnt remnants from past cooking endeavors.
But fear not, for I am here to share with you some oven cleaning techniques that will bring your oven back to its pristine state.
So, gather ’round, put on your metaphorical cleaning capes, and let’s dive into the world of oven cleaning wizardry!
First off, let’s harness the power of natural cleaners. It’s like bringing in the cavalry to fight the battle. Ingredients like baking soda, vinegar, and lemon can work wonders in breaking down those stubborn, baked-on messes.
- Mix baking soda and water to create a paste and apply it to the affected areas.
- Let it sit for a while, then sprinkle some vinegar on top and watch the magical fizzing action unfold.
- This concoction works like a charm in loosening up the mess, making it easier for you to scrub away the remnants.
- It’s like a gentle yet powerful spell cast upon the mess, transforming it into a manageable foe.
- And there you have it, a natural, eco-friendly solution while avoiding harsh chemicals.
If you need a little extra oomph, there are also commercial oven cleaners that can come to the rescue, wielding specialized formulas designed to tackle the toughest of messes.
Give them a look-see for that added boost in your cleaning quest!
Let’s join forces and reclaim our ovens from the clutches of baked-on chaos. Check the following for more techniques at [Oven Cleaning Techniques for Baked-On Messes].
Cutting Board Care: Avoiding Cross-Contamination

Let’s now talk about the unsung hero of your culinary adventures – the humble cutting board. It’s the trusty sidekick that bears the brunt of all your chopping, slicing, and dicing. But wait, there’s a catch! As much as we love our cutting boards for their unwavering support in the kitchen, they also pose a slight risk of cross-contamination if not treated with care.
So, let’s dive into the art of cutting board care, because we all want our food to be delicious and, more importantly, safe to eat.
Here are a few tips to keep your cutting board in top-notch condition, ensuring that your culinary creations are free from any unwanted microbes:
1. Separate for Success
When it comes to cutting boards, it’s wise to employ the “one for one” strategy. Designate separate cutting boards for different food groups, such as one for raw meat, another for fruits and veggies, and perhaps a dedicated board for bread and cheese. By doing this, you minimize the risk of cross-contamination, as the juices from raw meat won’t come into contact with your other ingredients.
2. Hot Soapy Love
After each use, it’s crucial to give your cutting board a good wash with hot, soapy water. This not only banishes any lingering food particles but also helps to kill off any lurking bacteria. Remember to dry it thoroughly post-wash, as moisture can be a breeding ground for unwanted germ parties.
By embracing these simple yet impactful steps, you can ensure that your cutting board remains a diligent ally in your culinary escapades. And hey, your taste buds will thank you for the extra effort!
If you’re on the lookout for more information about this, check out the complete article at [Cutting Board Care: Avoiding Cross-Contamination] for more tips and options.
Here’s to a kitchen where cross-contamination fears are a thing of the past!
Alright, folks, there you have it – the lowdown on why kitchen deep cleaning is absolutely crucial for keeping your food safe and your kitchen sparkling clean. It’s not just about hygiene; it’s about showing your kitchen some love and respect!
So, roll up those sleeves, grab your sponges, and get ready to give your kitchen the TLC it deserves. Let’s keep those countertops gleaming and those dishes shining because a clean kitchen is a happy kitchen! Cheers to clean cookin’ and good eatin’!
Questions and Answers for Kitchen Deep Cleaning for Food Safety and Hygiene
What is kitchen deep cleaning?
Kitchen deep cleaning is a thorough and intensive cleaning process that involves cleaning every nook and cranny of the kitchen, including hard-to-reach areas such as behind and underneath equipment, inside ovens and refrigerators, and washing the walls, ceilings, and floors.
Why is kitchen deep cleaning important for food safety and hygiene?
Kitchen deep cleaning is crucial for maintaining food safety and hygiene standards as it helps to eliminate food residue, grease, and other contaminants that can harbor harmful bacteria and pathogens. It also ensures that kitchen equipment and surfaces are free from potential allergens or cross-contamination risks.
How often should kitchen deep cleaning be conducted?
The frequency of kitchen deep cleaning depends on the size and usage of the kitchen. However, it is generally recommended to schedule deep cleaning at least once every six months, with more frequent cleaning for high-traffic commercial kitchens.
Can kitchen deep cleaning be done without professional help?
While basic cleaning can be done by staff, a professional deep cleaning service is recommended for a thorough and effective deep clean. Professionals have the expertise, proper equipment, and cleaning solutions to tackle tough grease and grime, ensuring a comprehensive clean.
What are the potential consequences of not conducting regular kitchen deep cleaning?
Neglecting kitchen deep cleaning can lead to a build-up of grime, grease, and food residue, creating a breeding ground for bacteria and pests. This can compromise food safety, leading to foodborne illnesses and health code violations.
Are there specific areas in the kitchen that require special attention during deep cleaning?
Yes, areas such as exhaust hoods, vents, fryers, grills, and refrigeration units require special attention during deep cleaning due to the accumulation of grease, carbon deposits, and food residue. These areas can pose fire hazards and health risks if not thoroughly cleaned.
What are the benefits of professional kitchen deep cleaning services?
Professional deep cleaning services not only ensure a high standard of cleanliness but also help in extending the lifespan of kitchen equipment, improving energy efficiency, and maintaining a safe and hygienic environment for food preparation.
How does kitchen deep cleaning contribute to maintaining a positive public image for food establishments?
A clean and well-maintained kitchen reflects positively on the reputation of food establishments. Regular deep cleaning demonstrates a commitment to food safety and hygiene, enhancing customer confidence and trust in the quality of the food being prepared.
Is it necessary to document kitchen deep cleaning activities?
Yes, documentation of kitchen deep cleaning activities is essential for regulatory compliance and internal record-keeping. It provides a clear indication of when the last deep cleaning was conducted and demonstrates a proactive approach to maintaining food safety standards.
What are some tips for maintaining cleanliness in the kitchen between deep cleaning sessions?
Implementing daily cleaning routines, training staff on proper cleaning procedures, and using appropriate cleaning products can help maintain cleanliness between deep cleaning sessions. Regular inspection and maintenance of equipment also play a vital role in keeping the kitchen hygienic and safe for food preparation.
Feel free to reach out if you have any further questions or need more information!
